It’s the weekend and the weather has been nice so I thought I would take a break from golf though I do need to post up my Itsy Bitsy Ghost review later on, and take an hour or so to install my new Defi Boost Gauge and the Defi Advance Control unit. To make it simple for those not familiar with a Boost Gauge and its purposes, wiki states: A boost gauge is a pressure gauge that indicates manifold air pressure or turbocharger or supercharger boost pressure in an internal combustion engine. Turbochargers and superchargers are both engine-driven air compressors and provide varying levels of boost according to engine rpm, load etc. Quite often there is a power band within a given range of available boost pressure and it is an aid to performance driving to be aware of when that power band is being approached, in the same way a driver wants to be aware of engine rpm.
A boost gauge is used to ensure excessive pressure is not being generated when boost pressure is being modified to levels higher than OEM standard on a production turbocharged car. Simple methods can be employed to increase factory boost levels, such as bleeding air off the wastegate diaphragm to ‘fool’ it into staying closed longer, or installing a boost controller. To prevent the Air-fuel ratio from going lean (caused by increasing the boost beyond the fuel systems capacity) care must be taken to monitor boost pressure levels, along with oxygen levels in the exhaust gas, using an air-fuel ratio meter that monitors the oxygen sensor.
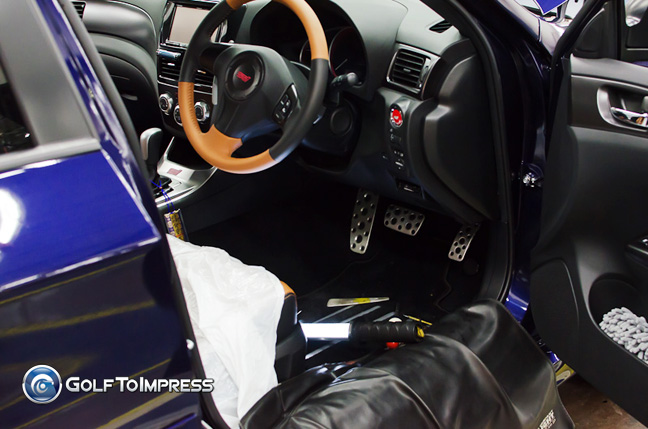
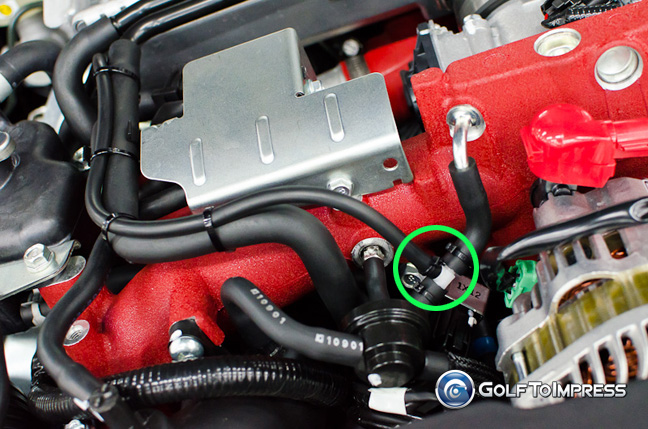
I wanted the install to be as clean as possible so I took a direct line right into the intake manifold by adding a “T” line into an existing tube. I then took that line back through the firewall into the cabin of the car making sure there were no kinks and a smooth passage (building water cooled computers in my younger days certainly helped this process). In this case the tube pressure is not read by the meter but rather the Defi Advance Control Unit which is a control center for up to 7 gauges (you can add water temp, oil temp, oil pressure etc) that in turn sends the reading signal to the gauge. The great thing about the Control Unit is expansion later on as gauges/meters can be daisy chained together for easy installation. The control unit can record and replay driving data, set warning and peak levels and control gauge color and brightness as well. I placed the Control Unit under the passenger side seat as it does not need to be touched in anyway once installed.
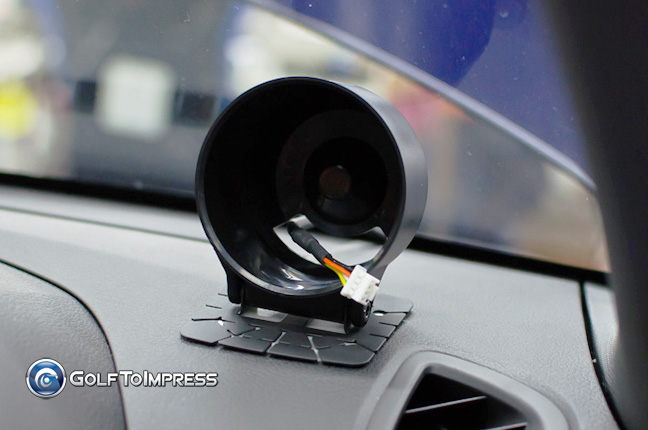
Next was choosing the location of the boost gauge. I originally wanted to place it on my left or towards the center of the dash (remember Japan is right hand drive). But by being on the left side it is harder to conceal wiring so I decided to place it on the right side of the console where I could pull one wire down through the back of the dash to the Control Unit. After selecting placement it was as simple as plugging the gauge in and aligning it. I connected the remote controller for the Advance Control Unit within easy reach of the left hand right above the SI Drive (though I’d probably never touch the Defi controller while driving). I’m happy with the install and here are the finished pics!


Comments 1