
The Cave…
In this blog I will go through the steps I took to make my extra garage into a hobbiest club making workshop.
I had most of the equipment collecting dust in storage that used to be part of a store we owned in California before we moved. It’s not easy to liquidate club making gear so I decided to use my extra garage space for my hobby instead of junk and boxes.
Step 1: Clean out my garage and bring in the slatwall.
Storage is key and with such a small area I needed a way to keep things off the ground without using storage cabinets. I decided a nice slatwall with brushed pewter laminate was the look i was shooting for. It allows me to use YKY club fixtures to hold irons, woods, or other miscalanious items.
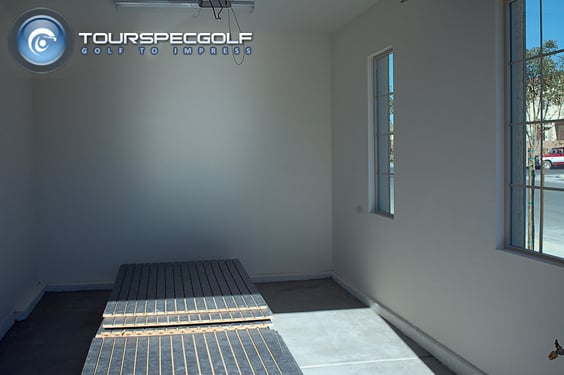
Step 2: Slat Wall Installation
It was very easy, we just had our handyman drill it into the beams with long metal screws made for wood. The hardest part about this was cutting the slatwall straight so that it was flush with the floor and ceiling. Before the install I regret not purchasing metal pieces to fit in between the grooves so that the wood color didnt show, In my opinion it would look so much better without the brown. We also cut holes for the lights and electrical outlets before securing the slat in place.

Step 3: Applying a durable sealant over the concrete.
Epoxy and Ink on concrete just doesnt look good so we decided to consider a variety of protectants to apply over the cement. I ended up going down to my local home depot and picked a pretty good 2 part garage protectant. You can have them tint it to the color you desire but we just went with the stock gray to match the walls. Our concern of it being slippery was solved by adding paint chips adding traction under your feet.
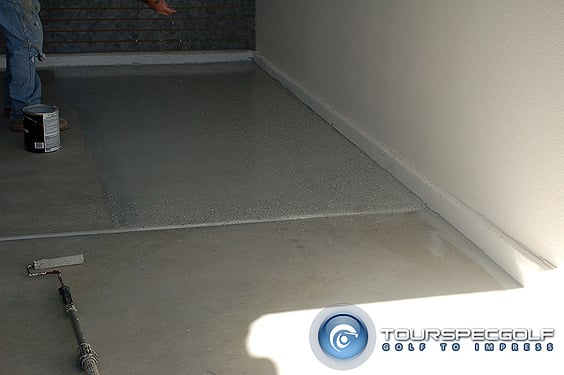
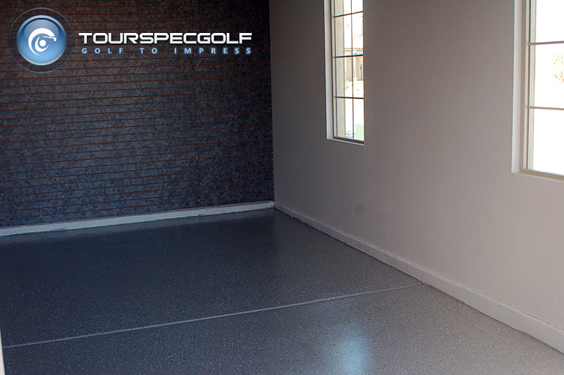
Step 4: Drilling the holes into the concrete
When working with club making equipment it must be bolted properly into a very hard surface so that all readings come out clear and accurate especially when dealing with Loft and Lie. We had to use special bolts that split into the concrete once deep inside to secure the gear in place. This was scarry because in many of today’s home’s including mine metal cables run below and if you hit or damage one it can tear up quite a large portion of the floor. We had our fingers crossed and everything turned out fine.
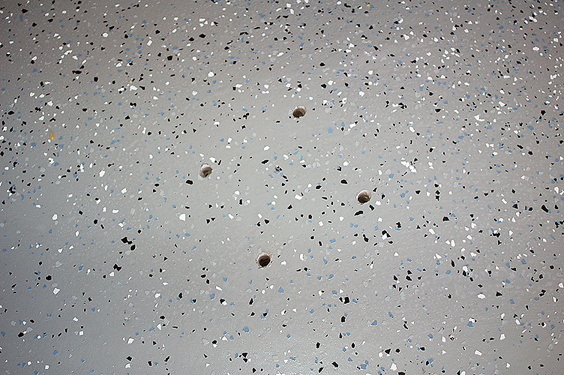
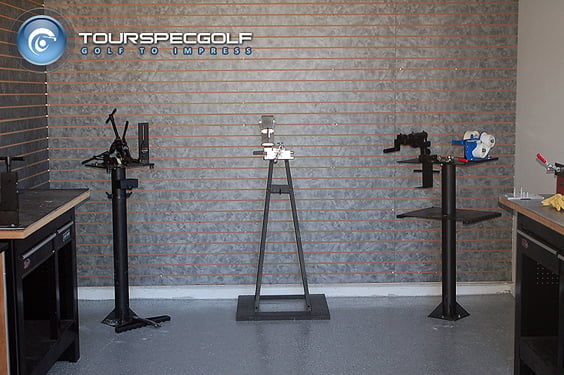
Step 5: Bolting in the Loft/Lie Bender and our Grip n Rip.
This was pretty straight forward we just used tight heavy duty bolts to install our Mitchell equipment into the ground. It’s as sturdy as a rock and has been since the workshop was setup. I have made a few new additions like an MOI matching machine and some pretty cool Japanese toy’s we found at the Tokyo Golf Show. I tell yea the Japanese clubmaking equipment just keeps being reinvented year after year.
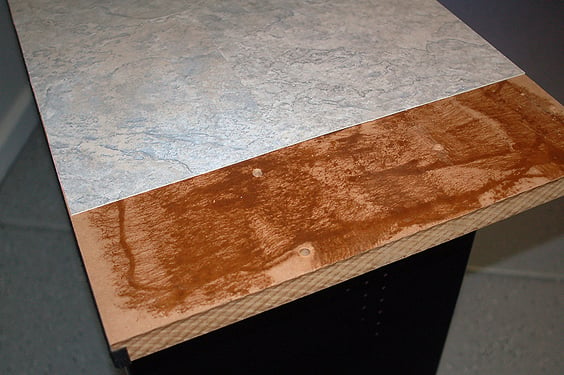
Step 6: Protecting more wood
I needed some new craftsman tables so I picked up several at Sears but again I didnt want epoxy and all sorts of stuff to ruin them. I put a nice gray covering over it and secured it in place using an industrial adhesive. I did have to cut it to size before doing so. It was cheep stuff and added another modern effect to our tables.
Finished! : The final step was moving in all of the other equipment and making the layout efficent for my needs. I’ve been very happy with it so for, I pretty much only use it for my personal gear and helping close friends tweak their equipment. It’s also a great place to sneak away at night for a beer. We also added a small wall mounted 24″ LCD and Direct TV cable box that is connected via HDMI to my laptop’s output. In order to get audio to transmit we used an optical cable and splitter from the back of the TV to the DTV box.
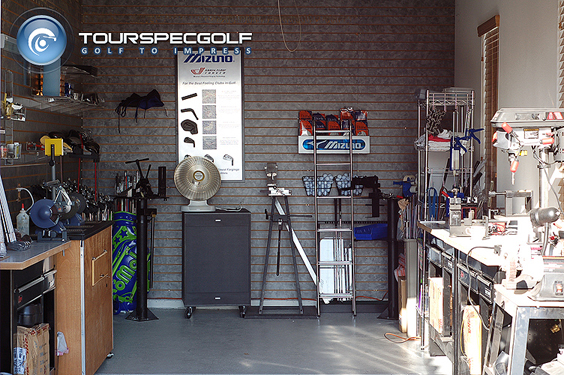


That’s just awesome. It looks like an actual shop and not a garage which is why I love it.
um, thats fricken SICK!
Nice work!
How long did this take you to make?
Mr. Park likes it, how do you keep your workshop so clean?
Amazing! It doesn’t look like a garage to me. you can have your handyman business now! nicely done. great job!
Nice job. Looks good. I especially like the slatwall. Could be that we manufactured it.
The shop looks great, especially like the looks of the floor. The whole shop looks very professional.